您当前所在位置:首页 > 网络编程 > JavaScript
JavaScript
jquery插件实现轮播图效果
这篇文章主要为大家详细介绍了jquery插件实现轮播图效果,文中示例代码介绍的非常详细,具有一定的参考价值,感兴趣的小伙伴们可以参考一下
每天一个jquery插件-jquery插件实现轮播图,供大家参考,具体内容如下
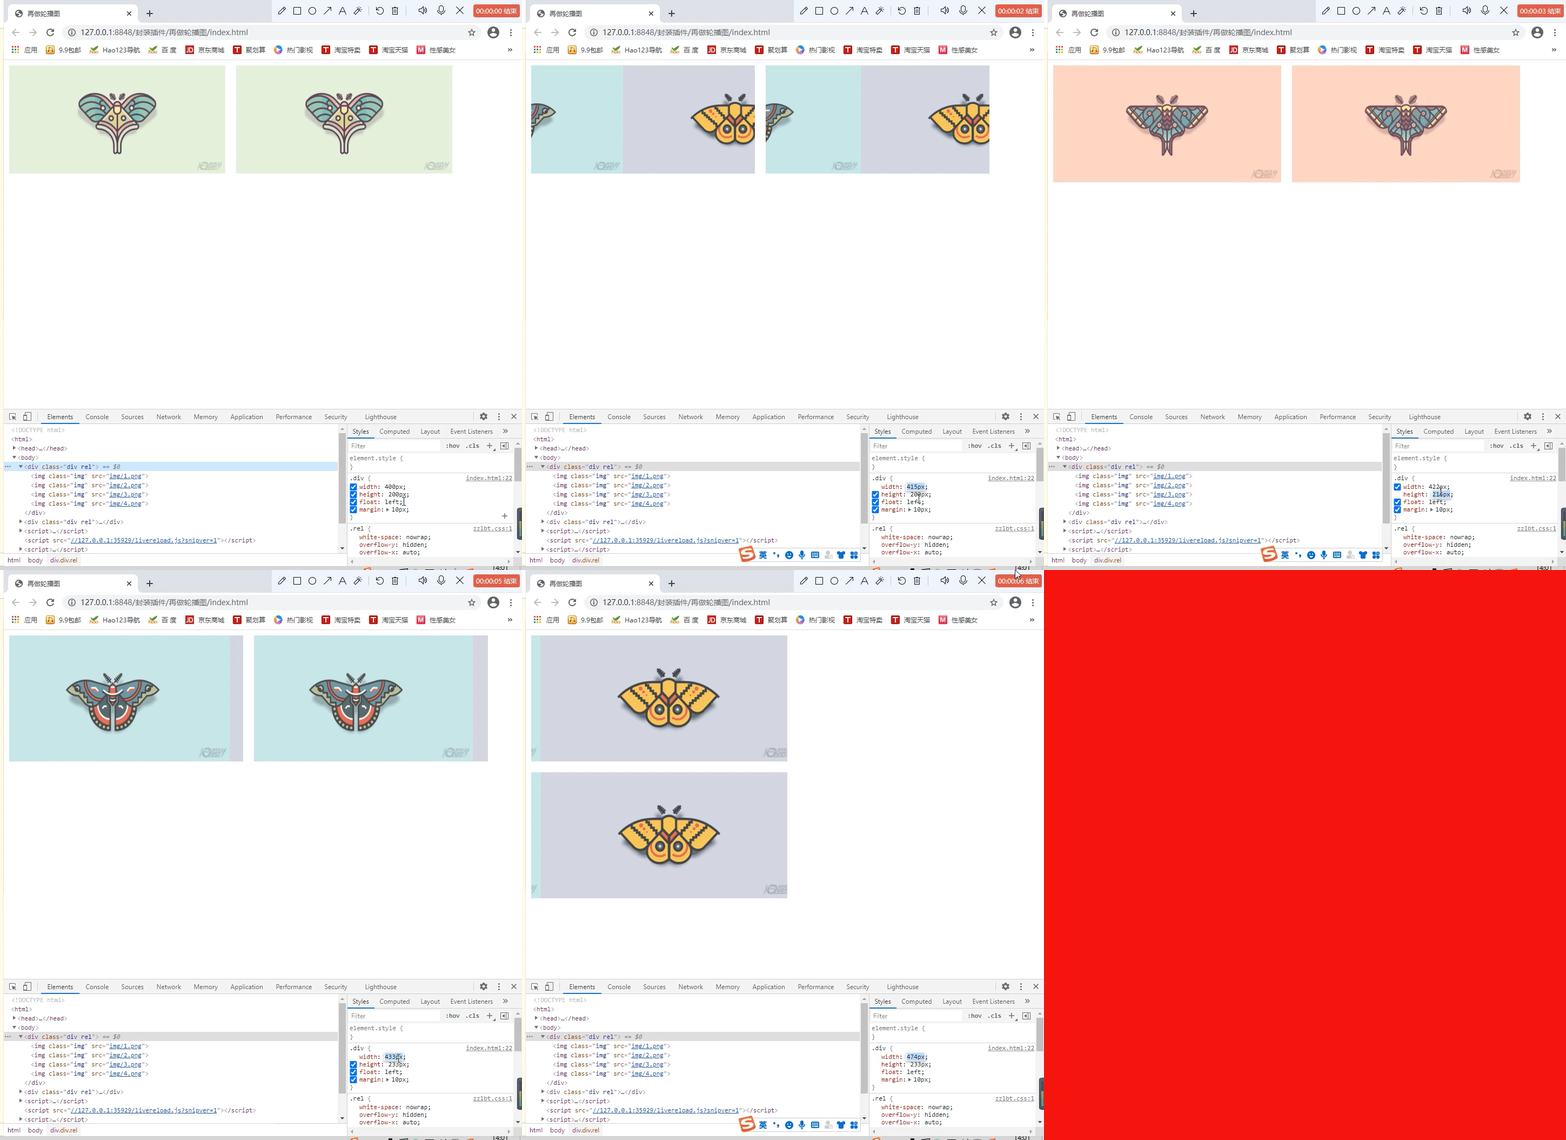
效果如下

代码部分
.rel{
 white-space:nowrap;
 overflow-y: hidden;
 overflow-x: auto;
}
.rel::-webkit-scrollbar{
 height: 0px;
 width: 0px;
}
.img{
 width: 100%;
 height: 100%;
}
<!DOCTYPE html>
<html>
 <head>
  <meta charset="utf-8">
  <title>再做轮播图</title>
  <script src="js/jquery-3.4.1.min.js"></script>
  <script src="js/zzlbt.js"></script>
  <link href="css/zzlbt.css" rel="stylesheet" type="text/css" />
  <style>
   *{
    margin: 0px;
    padding: 0px;
   }
   #div{
    position: fixed;
    top: 20px;
    left: 20px;
    width: 400px;
    height: 200px;
    border: 1px solid lightgray;
   }
   .div{
    width: 400px;
    height: 200px;
    float: left;
    margin: 10px;
   }
  </style>
 </head>
 <body>
  <div class="div"></div>
  <div class="div"></div>
 </body>
</html>
<script>
 $(function(){
  $(".div").lbt({
   data:[
    "img/1.png",
    "img/2.png",
    "img/3.png",
    "img/4.png"
   ]
  })
 })
</script>
$.prototype.lbt = function(obj) {
 obj = obj == undefined ? {} : obj;
 obj.time = obj.time==undefined?1000:obj.time;
 var that = this;
 var $that = $(this);
 $that.arr().forEach($item=>{
  $item.addClass("rel");
  $(function(){
   //添加dom
   obj.data.forEach(item=>{
    var $img = $("<img class='img' src='"+item+"' />");
    $img.appendTo($item);
   })
   //执行轮播
   var index = 0;
   var timer = setInterval(function(){
    $item.stop().animate({
     'scrollLeft':$item.width()*index+'px'
    },500)
    index = (index+1)%obj.data.length;
   },obj.time)
   //一些基本事件,当鼠标悬浮暂停轮播与下面的轴
  })

 })
}
$.prototype.arr = function() {
 var that = this;
 var arr = [];
 for (var i = 0; i < that.length; i++) {
  var $dom = $(that[i]);
  arr.push($dom);
 }
 return arr;
}
以上就是本文的全部内容,希望对大家的学习有所帮助,也希望大家多多支持 。
很赞哦!()
大图广告(830*140)


